If you have recently purchased a new house or recently installed tile flooring, it is inevitable that, over time, it will become dirty. Knowing the proper methods to clean and seal the grout on your floor tiles can be incredibly useful. Cleaning and sealing the grout in floor tiles can be one of the most challenging tasks when it comes to household chores. Regardless of how well you initially applied the grout or sealed it, there will come a time when it requires cleaning. It is essential to understand how to address this issue easily and effectively.
While it is true that all grout joints require some level of maintenance to preserve their appearance, some products can minimize staining and make the cleaning process easier. These solutions are specifically designed to penetrate the grout and fill any gaps, preventing dirt and stains from compromising the integrity of your carefully designed tile.
It doesn't matter whether you have installed porcelain, ceramic, or even a different type of tile, like travertine. All types of tile require grout; over time, grout accumulates a significant amount of dirt. Mould, mildew, food stains, and regular foot traffic are the main culprits behind this dirt buildup. It is imperative to keep the grout clean to maintain the beauty of your tile floor. Following our guidelines, you can effectively clean and seal the grout, ensuring your tile floor remains stunning for years.
What is Grout?
Because of its porous nature, grout tends to soak up any liquids or chemicals that come into touch with it. Because of its porous composition, grout can be difficult to clean and maintain.
Grout sealing is crucial because it prevents the grout from soaking up harmful substances like cleansers and solvents. If you seal the grout, it won't absorb as much dirt and grime and will be easier to scrub clean. The key to a long-lasting finish is knowing how to seal grout properly.
Coloured grout is a mixture of sand, cement, and polymers that comes in a variety of shades. Grout is less pleasing to the eye since its porous nature makes dirt and filth more visible.
It's also worth noting that crystalline silica, a known carcinogen, is present in many varieties of grout. Grout sealing reduces exposure to potentially dangerous pollutants.
Sealing Grout With These Easy Steps
The act of sealing grout serves as a protective measure against water damage in wet areas and inhibits the growth of bacteria and mould. It is a straightforward yet crucial procedure that safeguards your tiles and enhances their durability over time.
Make Sure the Grout Is Dry
It is crucial to allow newly applied grout sufficient time to fully cure before sealing. Even if the grout appears hardened, allowing excess moisture to evaporate to achieve the desired colour is important. While we understand your excitement to see the outcome, taking your time with the process is advisable.
We recommend waiting 48 hours after grout installation before applying a sealer. In the case of older grout, cleaning it thoroughly and ensuring it is completely dry is essential. During this drying period, it is important to protect the grout from spills and stains to avoid sealing in any dirt or debris.
Clean and Repair the Grout
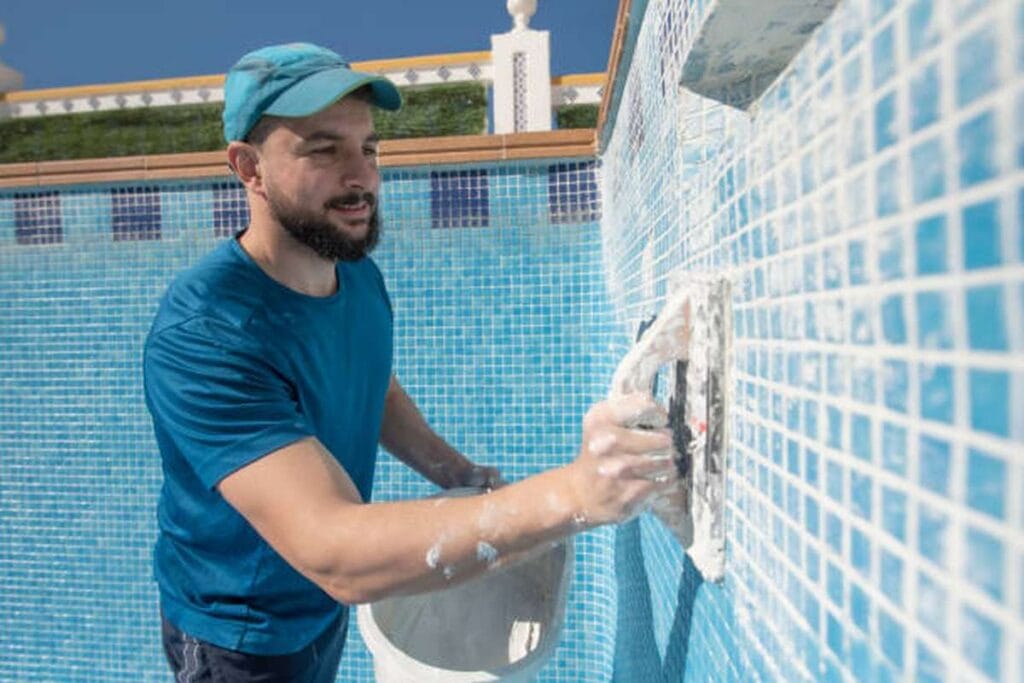
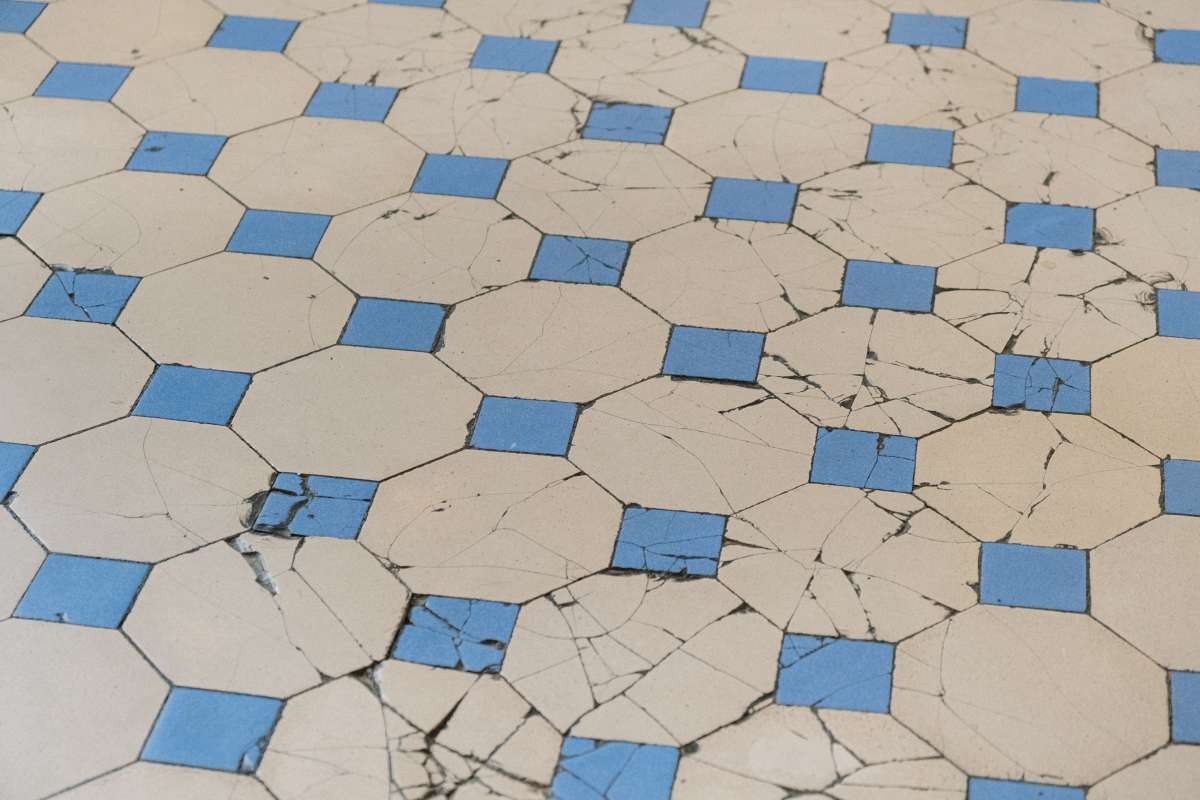
Before applying a sealer, it is important to take the necessary steps to clean your grout thoroughly and address any issues, such as cracks or crumbling in the grout lines. Failing to do so may result in sealing in dirt and damaged areas. Begin by scrubbing away as much as possible using a toothbrush dipped in a soapy water.
If you are dealing with stubborn stains, you can switch to a solution of equal parts vinegar and warm water. It is recommended to tackle one grout line at a time for better focus and efficiency. Once the cleaning process is complete, allow the area to dry for approximately 45 minutes before applying the sealer. This drying time ensures that the grout is ready to be sealed effectively.
Tape the Horizontal Tiles
To safeguard the tiles, it is recommended to apply horizontal strips of masking tape on both sides of the grout seams. This technique ensures that the sealant will create clean and straight edges once complete. Additionally, it is advisable to use masking tape to cover and protect any adjacent materials or surfaces from accidental contact with the sealant. In the case of sealing around smaller tiles, it is preferable to clean up any excess grout sealer immediately using a cloth and detergent while applying the sealer to ensure a neat finish.
Select the Right Grout Sealer for Your Project
Afterwards, select one of the top-quality grout sealers suitable for your specific type of tile and its intended location. Remember that there isn't a one-size-fits-all sealer that works perfectly in every situation. When exploring the available options, you will come across a wide range of products, allowing for customization based on your needs. Pay attention to the labels on the sealers, which indicate the most suitable for marble, stone, and ceramic tiles and specify the moisture tolerance level. This information is crucial whether you are dealing with high moisture areas like showers or low moisture areas like a kitchen backsplash.
There are two primary types of grout sealers: penetrating sealers and membrane-foaming sealers. The choice between them depends on your tile type and where it is installed.
- Penetrating sealers are formulated with a base of water or mineral spirits, enabling small particles of latex or silicone within the sealer to enter the porous structure of the grout. As the grout absorbs the sealer, these particles effectively fill in the gaps, creating a barrier that prevents moisture from seeping in. Penetrating sealers are particularly suitable for use in areas with high humidity or dampness, such as bathrooms, especially in showers with significant moisture exposure.
- Membrane-forming sealers form a protective coating on the surface of the grout, effectively preventing water from permeating through. These sealers are well-suited for applications in the kitchen but should be avoided in bathroom settings. The reason is that membrane-forming sealers can hinder the evaporation of water trapped beneath the tiles, potentially leading to mildew growth, especially in moist shower environments. It is important to note that while some membrane-forming sealers can be pigmented, allowing for a change in grout colour, they may not adhere properly to glazed tiles like ceramic. However, they work effectively on unglazed tile surfaces such as stone.
Apply the Sealer
You can use a foam sponge, brush, or a small roller to apply the sealer onto the grout lines. Regardless of your chosen method, ensuring that the sealer is applied uniformly and covers the grout joints completely is crucial. This ensures that the sealer effectively protects the grout and provides an even finish.
Apply a Second Coat of Sealer
After applying the initial coat of sealer, allow it to dry for approximately one hour before applying a second coat. It is important to note that achieving adequate protection usually requires one to three coats of sealer. Therefore, you may need to repeat the application process, allowing each coat to dry before applying the next until the desired level of protection is achieved.
Allow Ample Time for the Sealer to Fully Cure Before Walking
The curing time for grout sealers can vary depending on the specific product. Some sealers may require 24 hours to cure fully, while others may take up to 48 hours. It is important to refer to the manufacturer's instructions on the grout sealer you use for accurate curing time information.
Although it may be inconvenient to restrict access to a room for a day or two, it's important to consider the long-term benefits. A properly cured sealer reduces the time and effort required for future grout cleaning. This chore becomes much easier and more manageable with a good sealer. It's worth keeping in mind that investing time in the sealing process now will result in a more convenient and effortless routine for cleaning your bathroom and kitchen in the future.
What About Aerosol Grout Sealers?
While aerosol spray-on sealers offer convenience in terms of application, there are a few considerations to consider before deciding to purchase and use such products.
Spray grout sealers provide quick application but often leave excess sealer on the tile surface. As a result, you will need to spend some time wiping off the overspray to prevent hazing on the tile. The imprecise nature of sprays compared to other application methods may also result in product wastage.
Additionally, it is important to note that aerosol grout sealers create thinner barriers than brush-on or sponge-on sealers. Consequently, you may need to apply more coats of the aerosol sealer to achieve the same level of protection the other application methods provide.
Do You Need Two Coats?
It is recommended to apply the sealer twice to ensure thorough coverage and to address any missed spots during the first coating. After the application is complete, allow the sealer to dry and fully harden before reusing the grout.
This process may need to be repeated periodically, depending on the frequency of use of your shower or tile. Regular reapplication of the sealer will help maintain its protective properties and ensure long-lasting performance.
Handy Tips About Sealing Grout
- Apply the sealer in small sections at a time, ensuring thorough coverage. Begin from the top of the wall to the base and floor.
- Take precautions to avoid spilling liquids or allowing dirt and contaminants to contact the freshly sealed grout lines for 24 hours after application.
- Do not apply the sealer if the temperature is below 10°C, which may affect the product's effectiveness.
- Be vigilant to prevent any puddles of sealer from forming in the grout lines, as excessive sealer can lead to discolouration in certain types of grout.
- Inspect the tiles from various angles to ensure no residue or haze from the sealer left on the tile surfaces, achieving a clean and polished appearance.
Grout Cleaning and Sealing: The Nuclear Approach
If you struggle to clean your grout and need a more effective solution, using a manual grout saw can be a speedy method to remove a thin layer of grout from the tile seams. This technique works particularly well if the tiles have straight edges, allowing you to move quickly around the room. It's important to note that you may need to replace the carbide-tipped blade every 100 square feet, making tools with removable blades preferable.
Utilizing a diamond grout removal blade with an oscillating multi-tool can yield excellent results for an even faster grout removal process. This method is recommended for larger areas or when you need to replace the grout entirely.
Once the grout is removed, you can proceed to apply a fresh layer of grout, resulting in a rejuvenated appearance as if the tiles were newly laid. However, it is essential to remember that after completing this process, maintaining the cleanliness and sealing of the grout will help prevent the need for repeating the grout removal task shortly.
How to Seal Shower Tile Walls
Sealing shower tile walls is similar to other tile sealing methods. The following method can be used to seal subway tiles in a bathroom, with some variations depending on whether the tile is new or existing.
Start by thoroughly cleaning the shower tile to remove any dirt or soap scum that may have accumulated in the grout lines. It is important to clean the grout lines before sealing to ensure optimal results.
Next, create a slurry by mixing baking soda with water until it forms a paste-like consistency. Use a damp sponge to scrub the tiles from top to bottom with mixture. Afterwards, rinse the tiles with hot water to remove the baking soda solution.
You can purchase a clear acrylic-latex-based grout sealer from a local hardware store to seal the grout. Apply the sealer evenly over all tiles, ensuring complete coverage of the grout lines. Allow the sealer to dry and harden before using the shower again.
If the shower tile is newly installed, some steps in the process may be unnecessary. Adjust the method according to whether the tile job is new or existing.
Keep in Mind
To ensure the grout remains pristine, it is important to promptly clean up any spills, regularly clean the grout joints, and change the mop water frequently. While sealed grout helps prevent stains and simplifies cleaning, it is still essential to perform routine maintenance to keep the grout looking its best. Don't let dirty grout lines diminish the appearance of your tiles after coming this far!
Remember that all sealers will eventually wear off or lose effectiveness over time. Applying a new layer of sealer annually or whenever you notice that water is no longer forming beads on the surface is recommended. By following these steps, your tile and grout will maintain their original appearance, resembling the day they were first installed.
Conclusion
It is crucial to know how to clean and seal the grout between floor tiles because it might become dirty over time. Since unsealed grout can absorb dangerous elements and is difficult to scrub clean, sealing grout is a must. Although coloured grout is available in a wide range of hues, its porous composition makes it less aesthetically pleasant than standard grout. Sealing grout minimises contact with harmful contaminants. Grout sealing prevents water damage and the spread of mould and bacteria in bathrooms and other damp places.
Before adding a sealer, you must make sure the grout has had ample time to dry. Penetrating sealers and membrane-foaming sealers are the two most common kinds of grout sealers. Spread the sealer out evenly, being sure to get into the grout lines. Before refilling the grout, make sure the sealant has fully dried. Remove some of the grout from between the tiles with a manual grout saw.
To get a shiny, new look, use a diamond grout removal blade on an oscillating multi-tool. Keep the grout clean and the mop water fresh by tending to it on a regular basis. If water no longer beads up on the surface after a year or so, it's time to apply a new coat of sealer.
Content Summary
- Cleaning and sealing grout in floor tiles is an essential household chore.
- Proper cleaning and sealing techniques can help maintain the beauty of tile floors.
- Grout is a porous material that requires maintenance to prevent dirt and stains.
- Sealing grout prevents it from absorbing harmful substances.
- Coloured grout can make dirt and filth more visible.
- Grout sealing reduces exposure to dangerous pollutants like crystalline silica.
- Sealing grout protects against water damage and inhibits the growth of bacteria and mould.
- Allow newly applied grout to dry before sealing.
- Thoroughly clean and repair the grout before applying a sealer.
- Use a toothbrush and soapy water to scrub away dirt and stains.
- Apply masking tape to safeguard tiles and create clean edges.
- Select the right grout sealer based on tile type and location.
- Choose between penetrating sealers and membrane-foaming sealers.
- Penetrating sealers fill gaps in grout to prevent moisture seepage.
- Membrane-forming sealers create a protective coating on the grout surface.
- Apply the sealer uniformly using a foam sponge, brush, or roller.
- Apply multiple coats of sealer for adequate protection.
- Allow the sealer to fully cure before walking on the grout.
- Sealing grout reduces future cleaning effort.
- Aerosol grout sealers offer convenience but may leave excess sealer on tiles.
- Apply sealer twice for thorough coverage and address missed spots.
- Follow a top-to-bottom approach when applying the sealer.
- Protect freshly sealed grout from spills and contaminants for 24 hours.
- Avoid applying sealer in temperatures below 10°C for optimal effectiveness.
- Prevent excessive sealer from forming puddles in grout lines.
- Inspect tiles from different angles to ensure a clean appearance.
- Use a grout saw or diamond grout removal blade for stubborn grout.
- Seal shower tile walls by cleaning and applying a grout sealer.
- Promptly clean spills and perform routine maintenance to keep grout pristine.
- Regularly reapply sealer to maintain protection and appearance.
Frequently Asked Questions
Due to the porous nature of grout, sealing after cleaning is advisable, as the sealer will create an invisible shield that will protect your grout from water and contaminants that would otherwise seep within and discolour your grout lines.
Vinegar can indeed ruin grout.
Unfortunately, vinegar penetrates unsealed grout by seeping into the air spaces within the material. Once lodged in these spaces, vinegar will corrode grout with time. The grout will eventually wear off.
Grout needs to be sealed. It's naturally porous and will stain easily. Most installers of tile floors do not seal them because grout has to cure first. It's something you should do to keep your grout looking its best.
Baking soda is a safe deodorizer, whitener, and household cleaner—an effective natural grout cleaner. Because baking soda is also a mild abrasive, using it for cleaning grout lines gives you extra firepower without the risk of scratching your tile.
Grout sealers come in two varieties: membrane-forming and penetrating. The first type is prone to peeling or getting cloudy when residual moisture from mastic or underlayments pushes to the tile's surface. Penetrating sealers, which still breathe after soaking into tile and grout, are preferable.
