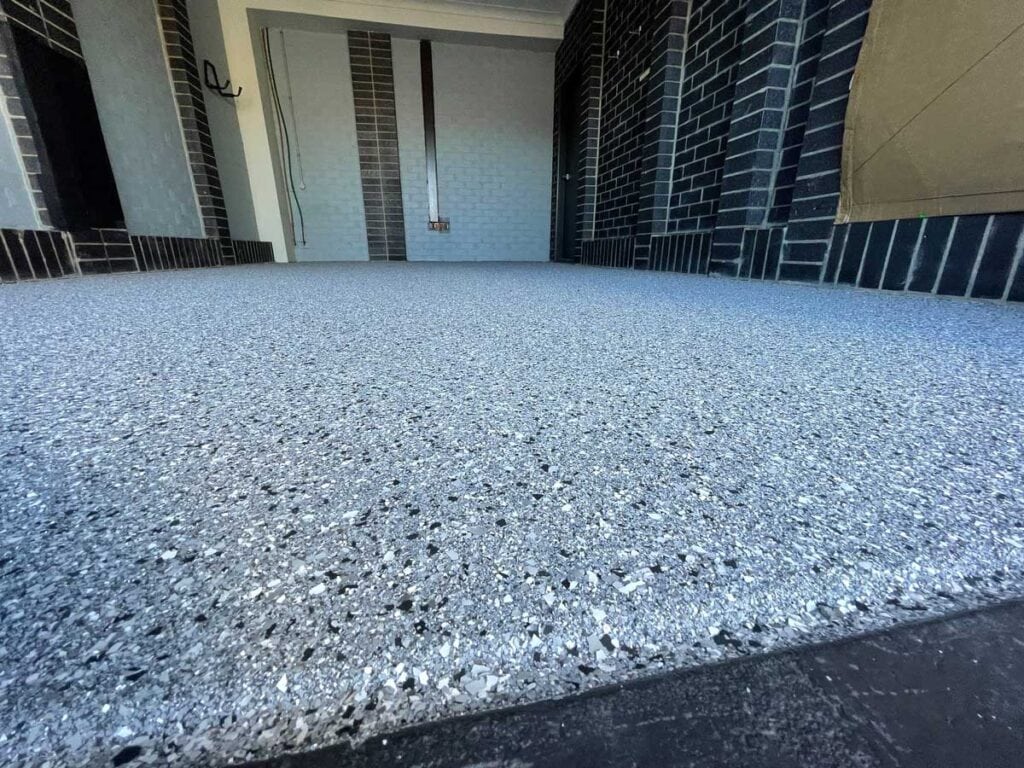
Are you looking for an effective way to enhance and safeguard your concrete floors? Look no further than epoxy floor coatings. With their wide range of colors and styles, they offer a versatile solution that can transform your floors while providing exceptional durability.
Epoxy coatings form a strong bond with concrete surfaces, delivering resistance against moisture, grease, scuffs, and even chemicals. This makes them ideal for areas such as garages and basements, where the floor may be prone to damage from dropped tools or heavy objects.
Typically, epoxy systems involve a primer coat followed by two coats of epoxy floor coating. This multi-layered approach ensures a seamless appearance and enhances the overall resilience of the floor. These coatings are especially well-suited for spaces with light to moderate wear and tear, including garages and storage rooms.
Discover the benefits of epoxy floor coatings and take your concrete floors to the next level of protection and aesthetics.
Application of Epoxy Floor Paint
Epoxy floor paint is a popular choice across various industries due to its elegant appearance, easy maintenance, durability, safety features, and cost-effectiveness. If you're interested in learning the process of applying epoxy flooring, this guide will provide you with detailed instructions. From understanding the contents of a kit to surface preparation, primer application, and the final coat, we'll cover everything you need to know. Let's dive in!
Kit Components
To ensure a successful application, it's vital to familiarize yourself with the contents of the epoxy floor kit. Start by carefully reading the included instructions, which provide essential details such as coverage estimates, recommended application temperature, cure time, waiting period for finishing coats, and more. The kit typically consists of two components: Component A, the colored flooring adhesive, and Component B, the hardener. Depending on your project, you may also need additional tools such as a paint roller, paintbrush, clear coat for finishing, decorative chips or flakes for added aesthetics and slip resistance, a measuring stick for precise mixing, protective gloves, and paint. Some kits may include spiked shoe attachments that minimize contact between your feet and the treated surface, allowing you to walk on it before complete hardening.
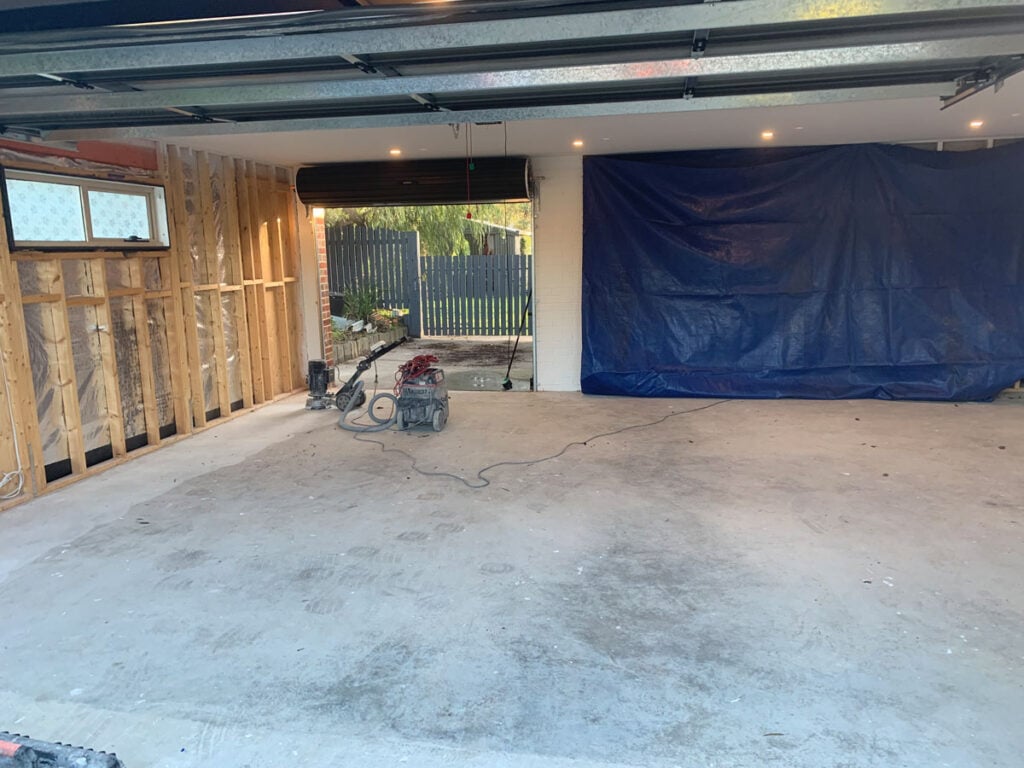
Surface Preparation
Proper surface preparation is crucial for ensuring strong adhesion between the epoxy product and the substrate. This step significantly reduces the risk of flooring failure and costly repairs. Give due importance to thorough surface preparation, aiming to achieve a slightly textured profile that facilitates mechanical bonding. Common methods for surface preparation include:
Grinding with a diamond grinder: Diamond grinding is the most versatile and widely used method. Different grinding tools are available, ranging from strong and coarse options for rough concrete to high-grit sanding tools for light surface sanding.
Sanding, Sandblasting, Milling (or scarifying): These methods are also effective for preparing the surface by removing impurities and creating an optimal bonding profile.
Cleaning the Concrete Floor
Before applying the epoxy coating, it's essential to allow new concrete to cure for at least 30 days. To prepare the surface, use a scraper, wire brush, or stiff bristle brush to remove dirt, dust, wax, mildew, or any loose materials. For surfaces contaminated with grease, waxes, or oils, scrubbing with a powerful detergent in warm water is recommended. Thoroughly rinse and ensure the surface is completely dry before proceeding. While pressure washers can be used, caution should be exercised to avoid damaging the concrete. A pressure setting not exceeding 1,750 psi is advisable. Remember that concrete retains residual moisture, even after cleaning, which can affect the epoxy's curing process.
Filling Cracks and Holes
To achieve a smooth and efficient coating application, it's crucial to address any cracks and holes in the substrate. The most common methods for this purpose are Epoxy grout or Epoxy Injections. By utilizing these methods, you can restore the concrete substrate to its original condition. When repairing cracks, begin with low pressure and gradually increase it while using a scraper to ensure a uniform finish. Follow the instructions on the product label for proper curing.
Priming the Floor with Epoxy Primer
Priming the floor is a necessary step to establish a suitable surface for proper bonding between the epoxy and the substrate. Despite claims that priming may be unnecessary, it significantly extends the floor's lifespan and enhances adhesion. It also seals the substrate and reduces the risk of bubbles and gas formation in the final epoxy coat. Moreover, priming helps minimize the amount of product required in subsequent stages. Adequate ventilation is essential during priming. If rapid absorption is observed during priming, apply a second coat over the initial one. Thoroughly mix the A and B components of the primer using an appropriate electrical mixer.
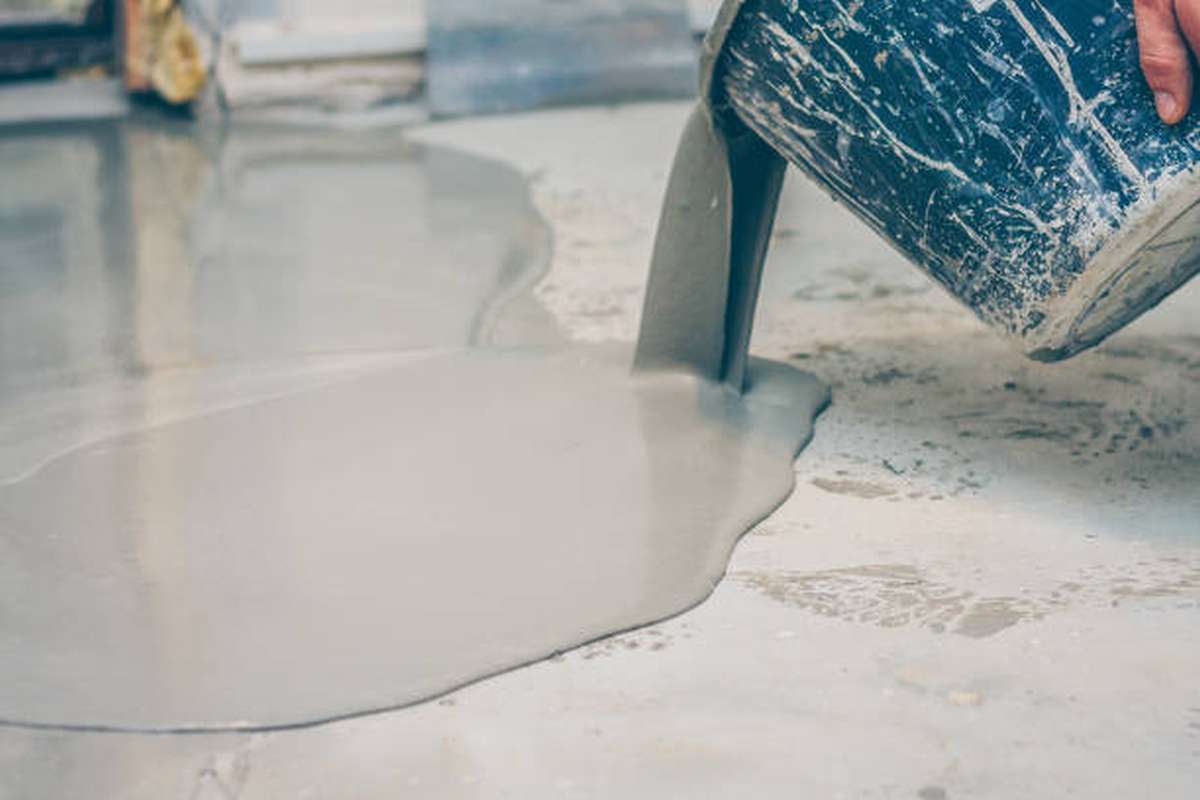
Applying the Epoxy Paint
After completing the necessary steps of surface preparation and priming, you can proceed to apply the epoxy paint. Follow the instructions on the label, which typically involve mixing two solutions and using the product immediately after mixing. For an even application, use a high-quality roller. Ensure the area is well-ventilated, and wear appropriate personal protective equipment. Allow the first coat to cure as instructed. Address any cracks or uneven surfaces before applying the final coat.
Final Sanding and Filling
Once the first coat has dried sufficiently (after 16-24 hours), you may notice issues such as new cracks, holes, or trapped dust and debris. Lightly sand the affected areas to eliminate any visible marks on the final floor. Use a vacuum cleaner to remove dust, and wipe away any remaining micro-dust with epoxy thinner. Seal and fill any new cracks or holes, allowing extra drying time if needed.
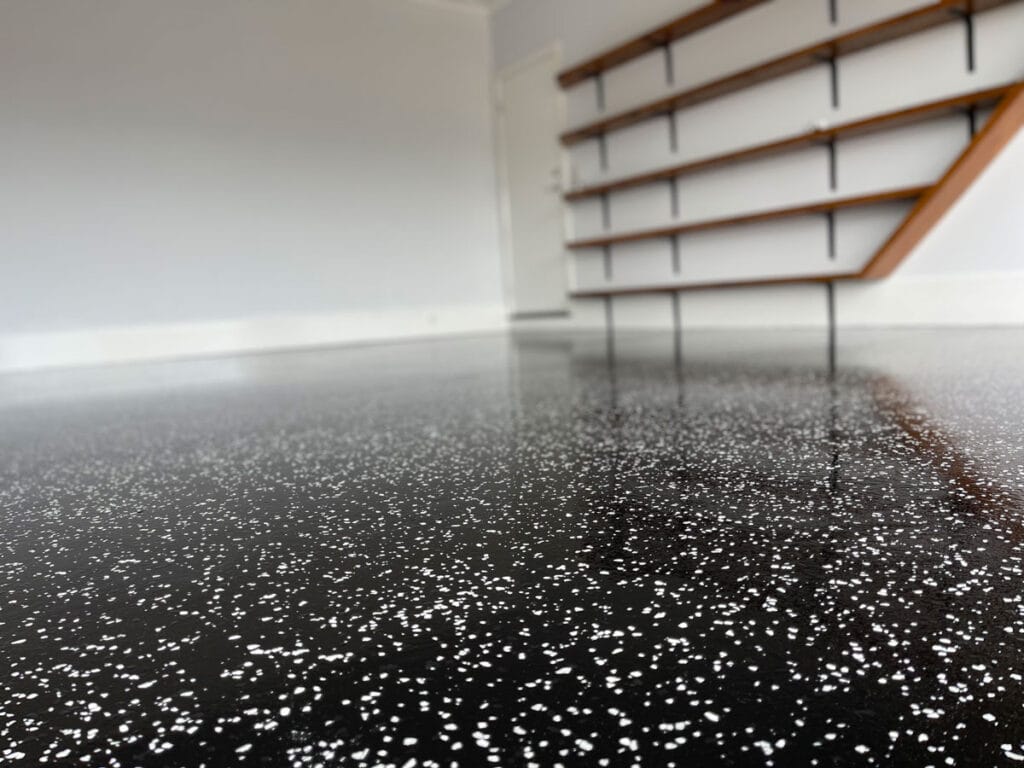
Applying the Second Coat
Thoroughly mix the two components before applying the second coat of epoxy. Follow the manufacturer's instructions regarding the mixing ratio and application method. Apply thin and even strokes, overlapping each stroke by approximately half an inch. Start from one corner of the room and work towards the door to avoid getting trapped in a wet area. Allow the second coat to dry thoroughly before walking on it or placing furniture.
Problematic Areas
If small holes, cracks, dents, dust, or residue are still noticeable on the surface after applying the second coat, consider applying a third coat of epoxy. This additional layer will help achieve a flawless appearance and ensure the longevity of your flooring.
Maintenance of Epoxy Concrete Floor Paint
Proper maintenance is essential once the epoxy concrete floor paint has been applied. Regularly sweep the floor to remove dirt and debris. Address any chips or scratches promptly to prevent further damage. Using floor mats in high-traffic areas or places prone to spills and heavy use is advisable to protect the paint and extend its lifespan.
Applying epoxy floor paint requires patience and attention to detail, but the end result is highly rewarding. From understanding the kit components to surface preparation, primer application, and the final coat, this comprehensive guide has provided you with the knowledge to achieve a flawless epoxy floor. Remember to maintain the floor properly to enjoy its durability and aesthetic appeal for years to come.
What is Epoxy?
Epoxy floor paints are resilient paints with two components combined before application. Three types of epoxy paint are available: high solids, solvent-based, and water-based.
Solvent-Based: Solvent-based epoxy functions similarly to water-based epoxy, adding substances that evaporate during curing. The addition of solvents has a minor impact on the strength of the epoxy and provides increased resistance to petroleum contamination on concrete surfaces.
High Solids: High solids coatings contain a higher proportion of solid elements, such as binders, pigments, and additives, compared to standard coatings. Despite having a lower percentage of volatile organic compounds, high solids coatings still provide good coating and application properties.
Water-Based: Water-based epoxy creates a surface film highly resistant to water, chemicals, acids, solvents, oils, and gasoline. It also exhibits excellent impact, abrasion, and scuff resistance, surpassing other types of epoxy coatings in these aspects.
If you have any lingering doubts about applying epoxy flooring, hiring a professional team to handle the job is always an option. However, if you are willing to dedicate time and effort, you can complete the process yourself.
You can achieve favourable results by allocating sufficient time to prepare the surface properly, address any cracks, apply a primer, and execute the coating application correctly. Following the recommended steps and instructions diligently will increase your chances of success in achieving well-applied epoxy flooring.
Conclusion
Epoxy floor coatings are a flexible option for protecting and beautifying concrete floors. Because of the tight bond they make with concrete, they provide protection from water, grease, scuffs, and chemicals. The floor's robustness and sleek appearance are both improved by the use of many layers. The two main parts of an epoxy flooring kit are the coloured flooring adhesive (Component A) and the hardener (Component B). Paint, a measuring stick, protective gloves, a roller, a brush, clear coat, decorative chips or flakes, and a pair of gloves are all possible extras.
Strong bonding between the epoxy product and the substrate requires thorough surface preparation. Diamond grinding, sanding, sandblasting, and milling are all common approaches. Clean the concrete floor with a scraper, wire brush, or stiff bristle brush before applying the epoxy coating. You can use epoxy grout or epoxy injections to fix cracks and holes. To ensure appropriate curing, always refer to the product's label.
Priming the floor with epoxy primer is essential for a strong epoxy-to-substrate adhesion. It seals the substrate, prevents bubbles and gas from forming, and lengthens the life of the floor, all of which contribute to the future phases requiring less product. The epoxy paint requires the mixing of two solutions and subsequent use. Sanding and filling the floor one more time will ensure that no imperfections remain. To apply the second coat, combine the two parts and use thin, even strokes that overlap by about half an inch.
Applying a third coat of epoxy may be necessary if imperfections such as tiny holes, cracks, dents, dust, or residue are still visible after the second application. Epoxy concrete floor coating needs regular upkeep to retain its longevity and good looks. High solids, solvent-based, and water-based epoxy paints are the three variants on offer. Water-based coatings form a surface film that is impervious to water, chemicals, acids, solvents, oils, and gasoline, whereas high-solids coatings include a greater concentration of solid components. To get good results, you need to give yourself enough time to do things like prime the surface, fill in any gaps, and apply the coating evenly and smoothly.
Content Summary
- Enhance and protect concrete floors with epoxy floor coatings.
- Epoxy coatings offer durability, resistance to moisture, grease, and chemicals.
- Ideal for garages, basements, and areas prone to wear and tear.
- Detailed instructions for applying epoxy floor paint.
- Familiarise yourself with the contents of the epoxy floor kit.
- The kit includes coloured flooring adhesive, a hardener, and additional tools.
- Thorough surface preparation is crucial for strong adhesion.
- Methods for surface preparation: grinding, sanding, sandblasting, or milling.
- Clean the concrete floor to remove dirt, dust, and contaminants.
- Scrub with detergent and rinse thoroughly.
- Fill cracks and holes in the substrate with epoxy grout or injections.
- Priming the floor extends the floor's lifespan and enhances adhesion.
- Adequate ventilation is essential during priming.
- Apply the epoxy paint following the label instructions.
- Use a high-quality roller for an even application.
- Allow the first coat to cure before applying the final coat.
- Lightly sand and fill any imperfections before the final coat.
- Thoroughly mix the two components before applying the second coat.
- Apply thin and even strokes, overlapping each stroke.
- Consider a third coat for problematic areas.
- Proper maintenance is essential for epoxy concrete floor paint.
- Regularly sweep the floor to remove dirt and debris.
- Address chips and scratches promptly.
- Use floor mats in high-traffic areas for added protection.
- Three types of epoxy paint available: high solids, solvent-based, and water-based.
- Solvent-based epoxy provides increased resistance to petroleum contamination.
- High solids coatings have a higher proportion of solid elements.
- Water-based epoxy is highly resistant to water, chemicals, and abrasion.
- Hiring professionals is an option, but the process can be done yourself.
- Dedicate time and effort to proper surface preparation and application for successful results.
Frequently Asked Questions
The total drying time for your epoxy floor coating will depend on the temperature. At 77° F and warmer, your floor will dry in about nine to 12 hours. If it's more fantastic than 77° F, your epoxy floor coating will need anywhere from 12 to 18 hours to dry.
Once cured, epoxy resin is waterproof.
Once it has finished bonding and curing, epoxy will prevent permeation by nearly any liquid or solid material, including water and humid air. Because of this feature, epoxy is frequently used in garage flooring, on shower walls, and as a coating for outdoor table tops.
It is directly applied to concrete so that heavy materials do not damage the surface and stay durable for a long. Epoxy floor coating provides warehouses, water treatment plants, shopping malls, marine applications, theatres etc.
Epoxy flooring prevents skidding and slipping, especially epoxy mortar and flake epoxy floors. That said, if epoxy gets coated in oil or water, the surface of the floors becomes slippery. This could lead to falls and potential injuries.
Oil, car chemicals and other chemicals.
Clean up spilled gas immediately because it will damage the surface of an epoxy floor if allowed to sit for too long. Paint, household cleaners and other abrasive liquids must be cleaned immediately.