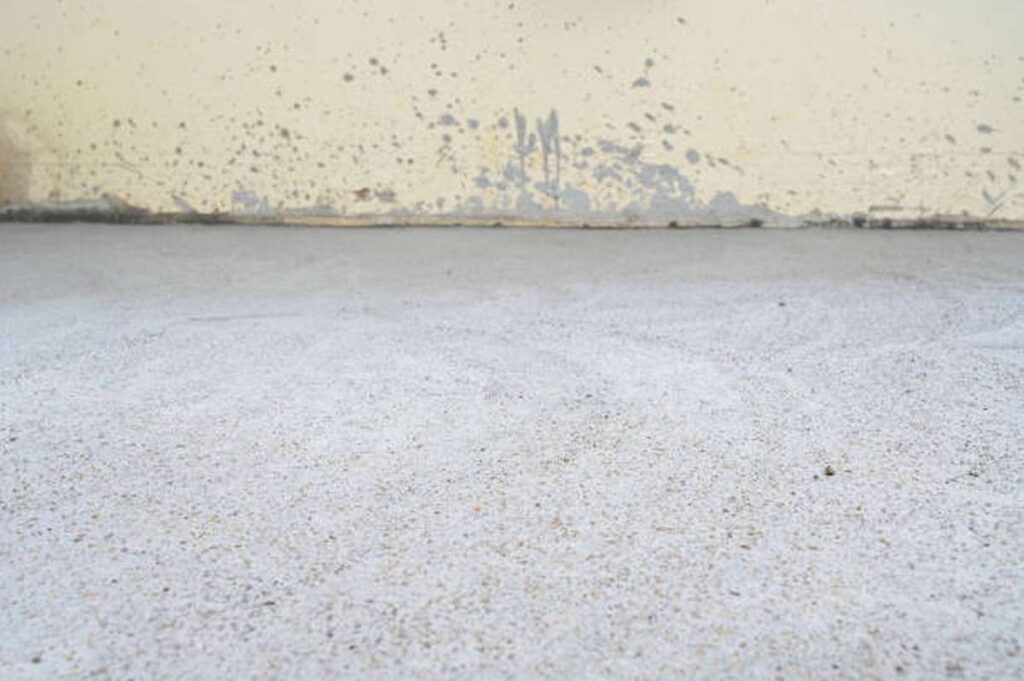
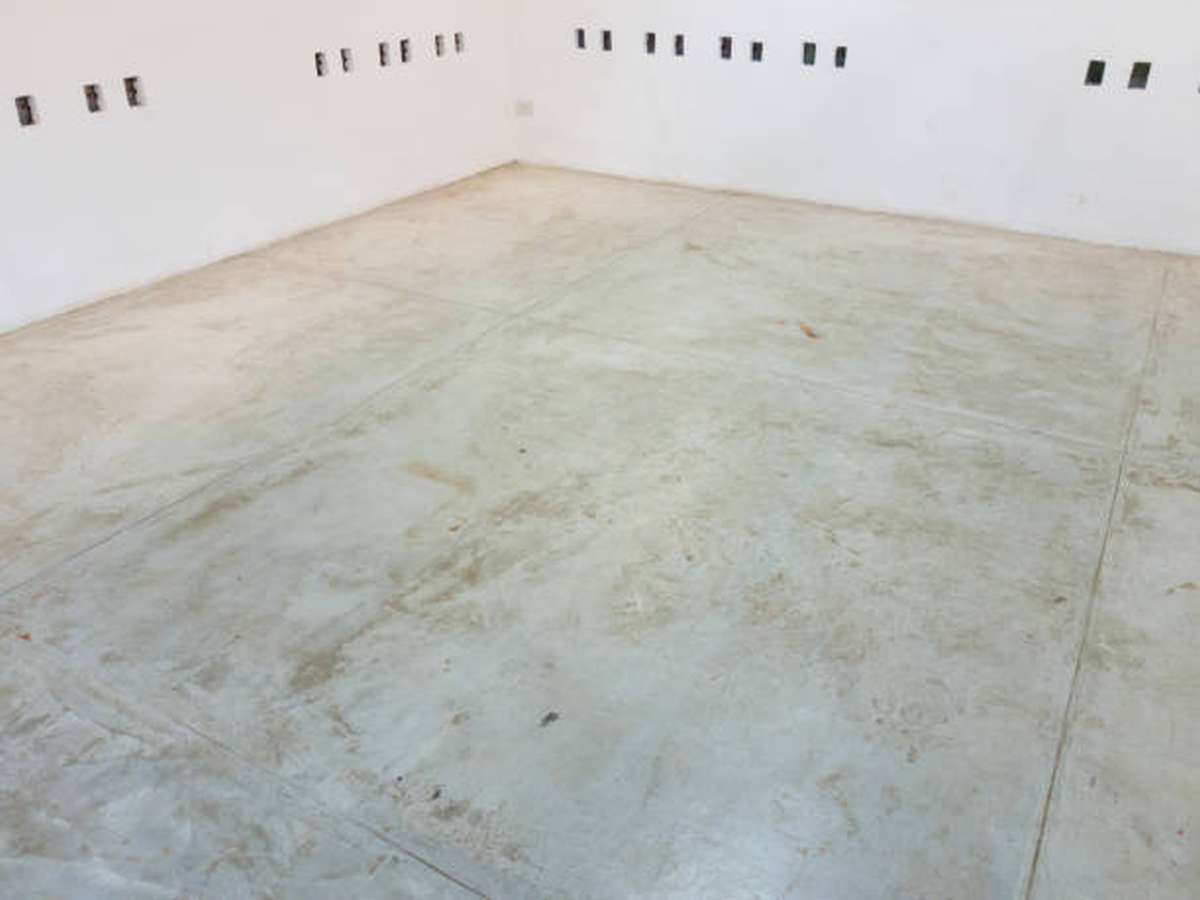
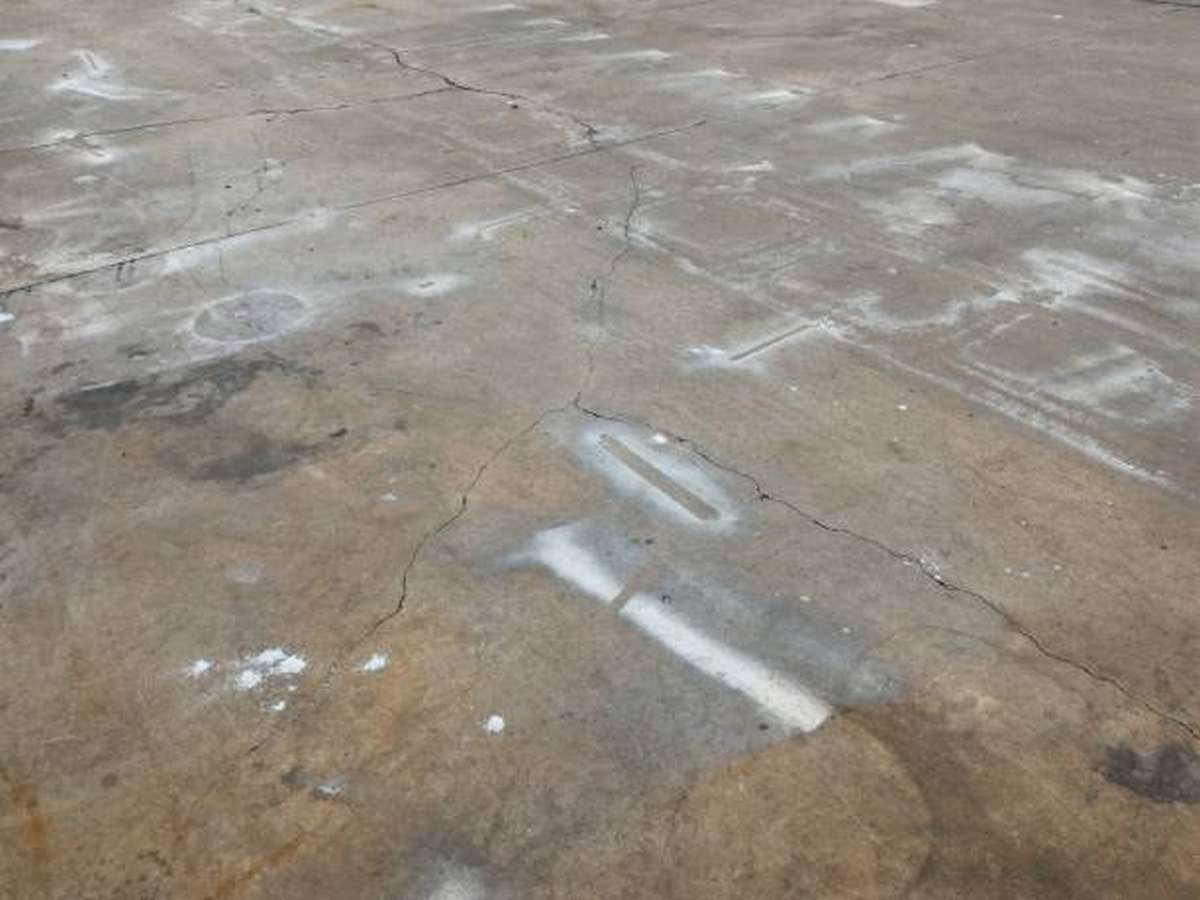
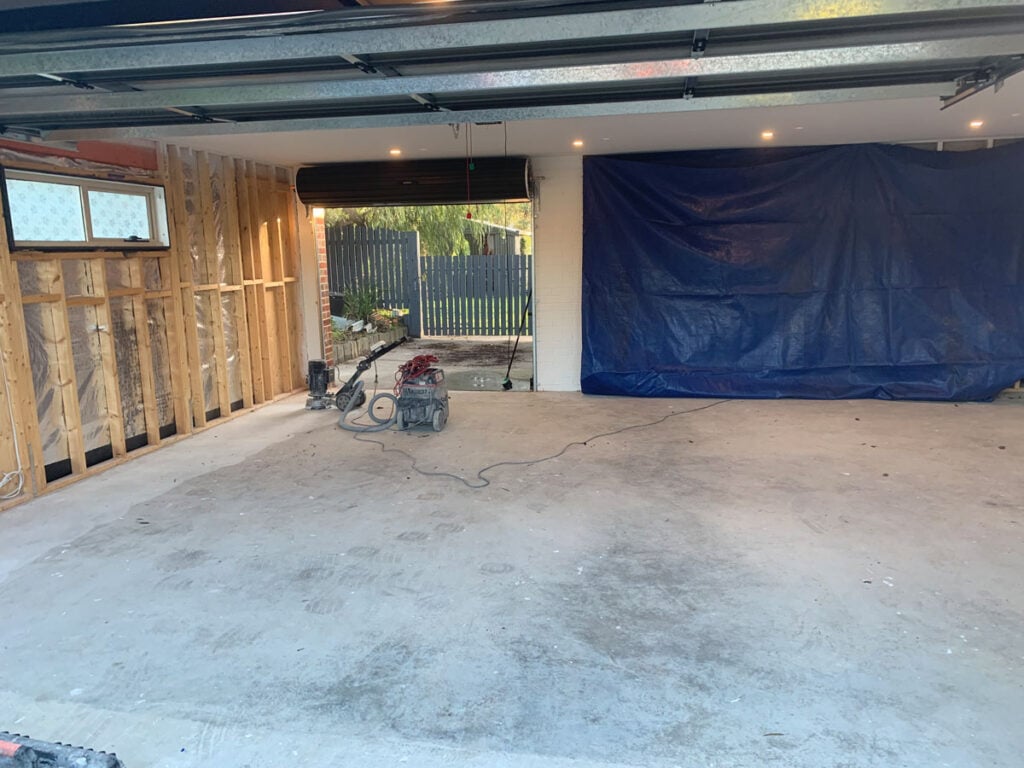
An uneven, pitted, or dimpled concrete garage floor goes beyond visually unappealing. It can indicate unsupported concrete slabs, which worsen over time as the concrete settles.
Additionally, low spots on a garage floor become the primary areas where liquids accumulate when spills occur. This is particularly problematic for substances like motor oil and lubricants, which are notoriously difficult to remove from concrete surfaces.
More significant low areas in a garage floor can be found along the sides, corners, or back end. These areas can collect significant amounts of water due to their lower elevation than the rest of the slab. Repairing such concrete floor issues requires careful consideration.
While low spots or depressions in the middle of a garage floor can also be bothersome, we generally only recommend attempting to fix them if they are exceptionally deep. We will discuss this aspect in more detail shortly.
If you intend to seal the concrete, apply a floor coating, or explore other garage flooring options, it is advisable to address the levelling of any unusually low areas beforehand. This ensures a more uniform and satisfactory outcome for your garage floor project.
Fixing Concrete Low Spots on Garage Floors
When a concrete pad or driveway has depression, it becomes a potential area for water accumulation. Inside the home, a depression in the concrete can lead to significant issues with the floor, such as cracked tiles or gaps between planks. Whether the depression is indoors or outdoors, the most effective way to level it is by filling it in to create a level surface. The primary distinction between indoor and outdoor applications lies in the choice of levelling material.
Use an Oil Cleaning Solution to Remove Large Gunk
The objective of cleaning and preparing the surface is to establish proper adhesion for the patching material. Begin using a putty knife and a de-greaser to remove any surface debris. Once this initial cleaning is done, proceed to scuff the surface using an abrasive material.
This step removes any stubborn dirt or grime by scrubbing the area with a wire brush. If there happens to be an embedded oil stain, it is acceptable to leave it as is. However, you can apply a de-greaser if the stain persists after using abrasives.
Fix A Low Spot In A Concrete Driveway:
- Slide a straight board across the surface to identify low spots on the floor. If light shines through underneath the board, it indicates the presence of low spots that require repair. Mark these areas accordingly, noting the number and size of the spots.
- Create a cleaning solution by dissolving dish detergent in hot water. Use a scrub brush to remove grease and debris from the patched area. Thoroughly rinse the area and allow it to air dry.
- Utilize a wire brush to texture the concrete floor, promoting better adhesion of the patching compound.
- Use a shop vacuum to remove any remaining debris from the surface.
- Prepare the patching compound by mixing equal amounts of compound hardener and resin in a bucket. Stir the ingredients together using a stick. For larger quantities, a drill with a mixing paddle can be employed. The mixture is ready when it reaches a soupy consistency.
- Apply the compound to the prepared area using a trowel, ensuring to feather the outer edge on the concrete floor.
- Allow the compound to dry and stiffen, typically within 15 minutes. Smooth the compound using a wet trowel.
- Following the manufacturer's instructions, enhance slip resistance once the compound dries and add sand to the hardener and resin mixture.
- Before driving over the repaired patch, allow the concrete repair compound to cure according to the manufacturer's instructions, which typically takes 8-20 hours. Keep in mind that curing time can be influenced by temperature and humidity levels.
Measure and Determine if Low Spots Need Filling
To address low spots in the garage floor, follow these steps:
- Begin by identifying the boundaries and measuring the depth of the low spots that require repair. This will help determine the amount of repair material needed.
- Use a straight edge to locate the edges of the low spots. Alternatively, you can pour water over those areas and mark the edges with a concrete crayon after most of the water has drained and settled. Remove any remaining water once the marks are made.
- Place a straight edge across the low spot from edge to edge to assess the severity of the depression.
- Position a long level or straight edge from the boundary edge to the wall for low spots in the corners, sides, and back of the garage floor. This will provide insight into the depth of the hole and how far up the wall the repair needs to extend.
- If a long straight edge is unavailable, use a string as an alternative. Have someone hold the string at the boundary edge and pull it taut against the wall. Move the string up and down the wall while using a level on top to determine the level and mark it.
- It is advisable to fill low spots in the corners, sides, and back of the garage floor where water pools against structures like stem walls, concrete blocks, or wood.
- However, filling is only sometimes recommended for holes in the middle of the garage floor unless they are more than 3/16 of an inch deep. This is especially true if you plan to avoid covering the repair with a floor coating or another type of flooring. Remember that an uncovered repair may be noticeable and stand out from the rest of the floor.
- Consider water drainage once the low spot is brought up to the same level as the surrounding area. It is important to ensure that water is directed towards the garage door, joints, or drains rather than pooling in the next lowest spot on the floor. Neglecting this can lead to issues with water accumulation in your garage.
Remove Surface Concrete with Abrasives
Afterwards, employ an abrasive implement to create a textured surface in the area that requires patching. This entails removing the top layer of concrete to uncover any areas of vulnerability and establish a new surface for the patching procedure. The choice of tool relies on the specific nature of the low spot. Options encompass a wire brush, a grinder and buffer, or a substitute product miming the effects of concrete etching acid.
Raised Edges Create Low Spots
It is possible to have a relatively even garage floor that has low spots due to water accumulation. This is especially common near the troweled edges of the concrete slab and deep contraction joints shaped like a "V".
The underlying cause of this phenomenon is the natural shrinkage of concrete during the curing process. As excess water evaporates from the slab, the surface tends to cure faster than the rest of the concrete if not adequately protected or kept moist. Consequently, the surface contracts at a higher rate and earlier than the rest of the slab.
This contraction leads to the edges and troweled joints of the concrete curling up slightly, creating a barrier that hinders water from flowing into the joints or out of the garage door.
Addressing low areas caused by concrete edge curling poses challenges. In such cases, the recommended solution is to grind these curled edges flush with the rest of the floor. This approach has proven effective in resolving many instances of perceived low spots.
Resin-Bound Surfacing: A Durable Concrete Alternative
If you have low spots in your driveway, one option you might consider is completely excavating the area and starting fresh. While this may initially seem like a drastic measure, it can have numerous benefits in terms of long-term maintenance and the overall value of your home.
A resin-bound driveway is an excellent choice for enhancing your driveway's appearance and functionality. While it still requires a solid sub-base like any other driveway, resin-bound surfaces offer more flexibility when levelling, as this process can be done manually.
One of the major advantages of a resin-bound driveway is its permeability. It allows standing water to drain naturally into the ground below, which helps reduce issues such as ice formation and algae growth.
Moreover, the mixture of resin and gravel used in a resin-bound driveway can be customized to match any desired colour, along with your preferred aggregate mix. This allows you to improve your home's aesthetic appeal while providing a practical solution for your driveway requirements.
Garage Floor Leveling Compound
There are tried and true solutions for raising the low sections in your concrete garage floor. We have found that the majority of the time, these methods work. Let's go even further into these methods so we can fully grasp them.
Using Leveling Compound
Concrete levelling compound is a popular choice among DIY enthusiasts seeking an effective solution for addressing minor low spots. This cost-effective remedy proves particularly beneficial for localised areas with dips or sags. This article provides a step-by-step outline of the necessary procedures involved in completing a concrete levelling project using readily available levelling compounds from hardware stores.
Thoroughly Clean the Affected Area
First, you should clean the area completely, giving special attention to any low points. Rub the concrete surface down first if there are heavy oil deposits. The next step is to thoroughly vacuum the area to remove any remaining material that could impede the levelling process.
Measure and Mark the Low Spots
The next step is to use a straightedge, like a long 2x4, to determine how deep the hole in the concrete is. The procedure of levelling will use this measurement as a baseline. Write down where the low points are so you can find them easily in the next steps.
Select and Apply the Levelling Compound
Pick a self-leveling concrete filler that works for you, like latex, epoxy, or a blend of the two. Distribute and fill the levelling compound evenly by pouring it into the low spots. Use the straightedge to even out the compound and make it blend in perfectly with the surrounding area.
Allow the Compound to Cure
Don't touch the surface for at least 12 to 24 hours after applying the levelling compound. Concrete levelling compounds typically include drying times on their box.
Concrete levelling chemicals provide a simple method for do-it-yourselfers to fix tiny depressions in concrete floors. Individuals can achieve a level and aesthetically pleasing surface by following the stated processes, which include a thorough cleaning, accurate measuring, precise application, and suitable curing. If you want to improve the beauty and usefulness of your concrete floors without breaking the bank, all you need are some levelling chemicals, which you can pick up at any hardware shop.
Conclusion
Unattractive and potentially hazardous low places on concrete garage floors can collect water and other substances. Prior to making any repairs in these areas, it is wise to even out any particularly low spots. For this, you'll need a putty knife and some de-greaser to scuff the surface and scrape away any loose particles. Applying a de-greaser can help remove stubborn oil stains that have penetrated deep into the fabric. Using a level and a straight board, you can locate the low points on the floor.
The information on how to fix low places on a garage floor is the most critical part of this article. Locating the limits and measuring the depth of the low places, mixing up a cleaning solution, using a scrub brush to remove oil and dirt, texturing the concrete with a wire brush, and finally, vacuuming up any leftover debris are all part of the process. To make the patching compound, combine the compound hardener and resin in an equal volume container, then spread it over the damaged area, let it dry until it is rigid, and then smooth it with a damp trowel. Last but not least, the concrete patch compound needs to cure as directed. The most critical information here is that you should fill in low locations in the corners, sides, and back of the garage floor where water pools against structures and then think about water drainage.
In order to create a textured surface in the patched region, it is also necessary to remove the surface concrete with abrasives. Since the edges and troweled joints of concrete curve up slightly during the natural shrinkage of concrete during the curing process, water gathering at these areas can lead to low spots. Grinding the curled edges flush with the rest of the floor is the suggested method of fixing low places in a concrete driveway. Resin-Bound Surfacing is a long-lasting substitute for concrete, and it can have many of the same advantages in terms of upkeep and resale value. When used locally, Garage Floor Levelling Compound can lift low spots in a concrete garage floor and restore a level surface at a reasonable cost.
Carefully clean the area, paying close attention to any low spots, and vacuum to eliminate any debris that would otherwise slow down the levelling process. Apply a self-levelling concrete filler after measuring and marking the low locations with a straightedge. You should wait 12 to 24 hours before touching the surface after applying the chemical. Concrete floors can have minor depressions fixed with little effort and expense using levelling solutions.
Content Summary
- An uneven, pitted, or dimpled concrete garage floor can indicate unsupported concrete slabs.
- Low spots on a garage floor can collect liquids, making it difficult to remove substances like motor oil and lubricants.
- Repairing concrete floor issues requires careful consideration.
- Addressing levelling of low areas before sealing or coating the concrete ensures a more satisfactory outcome.
- Fill depressions in concrete to create a level surface and prevent water accumulation.
- Use an oil cleaning solution and abrasives to prepare the surface for patching.
- Slide a straight board across the surface to identify low spots in a concrete driveway.
- Clean the patched area with a solution of dish detergent and scrub brush, then rinse and allow to dry.
- Texture the concrete floor using a wire brush to promote better adhesion of the patching compound.
- Remove debris with a shop vacuum before applying the patching compound.
- Prepare the patching compound by mixing equal amounts of compound hardener and resin.
- Apply the compound to the prepared area, feathering the outer edge on the concrete floor.
- Allow the compound to dry and stiffen, then smooth with a wet trowel.
- Enhance slip resistance by adding sand to the hardener and resin mixture.
- Follow the manufacturer's instructions for curing time before driving over the repaired patch.
- Measure and determine the depth of low spots in the garage floor.
- Use a straight edge or pour water to locate the edges of the low spots.
- Assess the severity of the depression by placing a straight edge across the low spot.
- Use a level or string to determine the depth and mark the level of the low spot.
- Fill low spots in corners, sides, and back of the garage floor to prevent water from pooling against structures.
- Consider water drainage after levelling to ensure proper flow away from low spots.
- Remove the surface concrete using abrasives to establish a new surface for patching.
- Raised edges near troweled edges and contraction joints can create low spots due to concrete shrinkage.
- Grind curled edges flush with the floor to address low areas caused by concrete edge curling.
- Excavating low spots in the driveway and installing a resin-bound surface can provide long-term benefits.
- Resin-bound driveways offer permeability, allowing water to drain naturally and reducing issues like ice formation and algae growth.
- Resin-bound surfaces can be customised with different colours and aggregates for aesthetic appeal.
- There are tried and true solutions for raising low sections in concrete garage floors.
- Concrete levelling compound is a cost-effective remedy for addressing minor low spots.
- Thoroughly clean the affected area, measure and mark the low spots, apply the levelling compound evenly and allow it to cure for optimal results.
Frequently Asked Questions
Low spots are exactly what they sound like, and they will affect the drainage and serviceability of the slab. They are generally caused by poor forms and screeding, overly wet concrete, poor lighting during placement and finishing, and poor placement and finishing.
Repair methods and solutions. Common ways to repair a slab are to surface fill or inject with epoxy or polyurethane. Filling and bonding the slab with high-strength epoxy is a great way to seal the crack.
The best and most long-lasting way to repair low spots on your concrete driveway is to pull it up, add a new sub-base, and relay the driveway using a newer and better material, such as resin-bound surfacing.
When a blemish appears on the surface of a concrete slab, it will likely be one of these: blisters, cracking, crazing, curling, delamination, discolouration, dusting, efflorescence, low spots, popouts, scaling, or spalling.
Yes, you can pour fresh concrete over existing concrete. This task is doable as long as your concrete is in mint condition. If you pour a new mixture over an old slab, be sure it is at least 2 inches thick.
