Self-adhesive vinyl floor tiles provide a convenient option for homeowners to install flooring themselves. However, it's important to note that the seams between the tiles can become susceptible to trapping dirt and moisture over time, which may lead to the loosening of the tiles. To mitigate this issue, sealing the floor is recommended as it helps the seams resist the infiltration of harmful substances and enhances the tiles' resistance to stains.
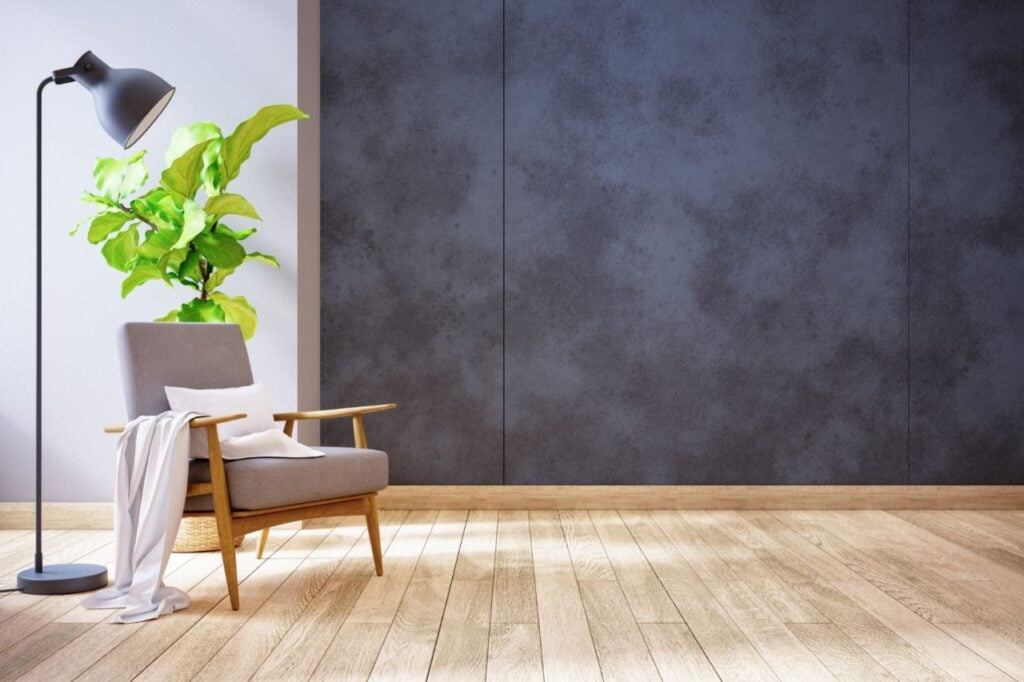
Vinyl tiles are particularly popular for kitchens and bathrooms, and their availability in various colours and patterns makes them suitable for any decor style. In addition, the straightforward installation process makes them an ideal choice for DIY enthusiasts, even those with limited experience. Nonetheless, maintaining the cleanliness of vinyl tiles can be challenging, hence the recommendation to seal the floor.
While not all vinyl tile floors require sealing due to their precise alignment, applying a sealant can contribute to prolonging the lifespan of the flooring. If you're considering sealing a vinyl tile floor, our guide on how to do it provides detailed instructions to help you through the process.
Sealing Vinyl Flooring the Right Way
The popularity of vinyl tiles as a flooring option has grown significantly in recent years due to their affordability, easy installation, and low maintenance requirements. These vinyl planks or tiles are now a highly favored choice for those who prefer a more cost-effective and practical alternative to traditional wooden floors. They are particularly well-suited for bathrooms, as they are resistant to water and offer great value for money.
When it comes to sealing your vinyl floor, it is crucial to choose a sealer that matches your desired level of shine, or you can opt for a non-glossy option. It is important to select a sealer explicitly recommended for use with vinyl floor tiles to ensure compatibility. After completing the sealing process, applying two coats of vinyl floor polish will leave your floor looking its best.
If you are new to working with vinyl flooring and need guidance on the proper techniques for sealing, we have conducted extensive research to provide you with all the necessary information and instructions you need.
How To Prep Vinyl Floors for Sealing
To effectively apply vinyl floor seam sealant, it is crucial to properly prepare the floor. Following the appropriate preparatory steps is essential to ensure successful results during the sealing process.
Begin the preparation by thoroughly cleaning the floor to eliminate any dust, debris, or dirt. Start by using a soft-bristle broom to sweep the entire surface, removing any visible large debris. Then, take a microfiber cloth and gently sweep the floor, capturing any remaining dust particles that may be hard to see with the naked eye.
Finally, use a vacuum cleaner to carefully go over the seams between the tiles or planks, ensuring thorough removal of any trapped particles or debris. This meticulous cleaning procedure will establish a clean and smooth surface, creating optimal conditions for the vinyl floor seam sealant to adhere effectively.
Different Ways and Situations
Multiple methods are available for sealing vinyl tile floors, each serving different purposes. Understanding the specifics will help determine the most suitable approach for sealing your floors based on your requirements.
Sealing can be done when installing the vinyl floor or at a later stage when it shows signs of wear.
It is also possible to reseal a floor that has already been sealed to restore the protective properties of the sealant.
Another decision is to seal only the seams or the entire floor surface.
Sealing the seams prevents dirt and grime from getting trapped in them, enhancing the floor's resistance to water and safeguarding it against spills and water damage.
On the other hand, sealing the entire surface provides the same benefits as sealing the seams while protecting the floor's overall appearance and maintaining its longevity.
Individual tiles may sometimes require sealing to address breakage or peeling issues.
Once you have determined the purpose and method for sealing your floor, you can proceed with the necessary steps to begin the sealing process.
Sealing The Whole Floor
To maximise your safety, applying sealant to the entire floor is recommended. Here are the necessary steps to follow:
Step 1: Clean The Floor And Prepare It For Sealing
Before commencing the floor sealing process, it is essential to ensure the floor is thoroughly clean and devoid of dust or dirt.
Begin by sweeping the floor using a gentle-bristled broom to eliminate the most heavily soiled areas. Subsequently, meticulously utilise a microfiber cloth to remove any remaining dust from the surface.
After completing the previous step, utilise a vacuum cleaner to thoroughly clean the gaps or spaces between the tiles, ensuring no residue or debris remains.
Step 2: Fill the Bucket With Water
Follow the guidelines provided by the manufacturer to add hot water and vinyl floor stripper into a bucket.
Step 3: Remove Existing Polish Or Wax From The Surface
You can skip this step if you are working on a new floor. However, when sealing or resealing an old floor, it is important to eliminate any remaining wax or polish from the tiles.
Once you have completed removing dirt and dust from the tiles, employ a vinyl floor stripper to cleanse the surface.
Refer to the instructions provided on the product's bottle, but as a general guideline, mix the product with warm water and utilise a mop to clean the floor.
After thoroughly wiping the entire floor with the cleaning agent, rinse the surface again with warm water. In cases where the layer of wax or polish is particularly thick, it may be necessary to repeat the process multiple times.
Step 4: Apply Painter's Tape
Apply painter's tape along the lower edge of the baseboards, where they meet the floor, and any other immovable objects you wish to protect from accidental contact with the floor sealer.
Step 5: Apply The Sealant
Apply the vinyl sealer onto the floor using a cloth like a lambswool finishing pad.
Take your time and proceed cautiously, ensuring a systematic approach to avoid missing any areas. Moving too quickly can create bubbles in the sealant.
Once you have applied the sealer to the entire floor, allow it to dry for the duration specified in the product's instructions, typically around 10 hours or overnight.
Why Apply a Vinyl Floor Sealer?
The cost is often the determining factor for many individuals when selecting vinyl planks or tiles. Opting for vinyl tiles provides an affordable means of covering the floor. Therefore, executing the installation correctly and maintaining the tiles once they are in place becomes even more crucial. Neglecting proper tile care may result in the need for costly replacement and retiling, which involves additional labour compared to doing the job correctly from the start.
Vinyl flooring seam sealant is readily available online or at most hardware stores. Applying vinyl floor sealer is a simple process, but it requires time and can be monotonous, similar to other home improvement tasks. The outcome may be better if the application is effective or if the sealer must be applied adequately. This can lead to dirt trapped between the tiles or planks, necessitating additional work.
Pros Of Sealing A Floor
- Makes it stronger and last longer.
- Protects against water damage and makes it more resistant to wear and tear
- It makes cleaning easier.
- Saves you money in the long run because you don't have to replace it as often.
Cons Of Sealing A Floor
- a boring job that takes a lot of time
- Costs money and makes it harder to remove tiles in the future.

How to Apply Vinyl Plank Seam Sealer
Coat a lambswool floor finishing pad with the vinyl sealer of your preference and glide it back and forth over the tiles. Work meticulously and slowly, ensuring smooth coverage, and pay close attention to the seams. Moving deliberately can help prevent air bubbles from forming in the sealant.
Continue this process until the entire floor is coated. Adhere to the instructions provided by the manufacturer and allow the floor to dry overnight. Once the floor is dry, utilise a microfiber cloth to gently sweep the surface and remove any dust that may have settled overnight. Next, apply another coat following the same method used for the initial application. Repeat the process on the third day if a third coat is necessary.
Tips And Tricks
Here are some tricks and tips that will help you finish the job:
Act right away.
Prompt action is crucial when dealing with a broken or loose tile. It is advisable to address the issue promptly, as delaying the repair can exacerbate the situation, making the fix more challenging.
For hard vinyl tiles, use a hair dryer.
To increase the flexibility of hard and stiff tiles, you can utilise a hairdryer to warm them up. Applying heat from the hairdryer can help soften the tiles, making them more pliable and easier to work with.
You can protect things like furniture with masking tape.
Before sealing seams or the entire floor, it is advisable to utilise masking tape as a protective measure to safeguard furniture, walls, and other items you wish to prevent from getting damaged. By carefully applying the masking tape, you can create a barrier that helps shield these objects from potential harm during sealing.
Choose the right sealant.
It is essential to select a sealant that is specifically designed for your type of floor. In addition, take into consideration the appearance and characteristics of your flooring material. For instance, if you have vinyl tiles that resemble stone, using a sealant with a glossy finish may result in a less authentic and more artificial appearance. Therefore, choose a sealant that complements the natural look of your floor, enhancing its authenticity rather than detracting from it.
Conclusion
Popular in bathrooms and kitchens alike, self-adhesive vinyl floor tiles may become a breeding ground for grime and moisture if not properly maintained. To solve this problem, seal the floor so that dangerous substances can't seep in through the joints and the tiles are more resistant to stains. It is crucial to get the floor ready before applying vinyl floor seam sealer. Sealing properly requires that you take the necessary pre-processing processes. The instructions for sealing a vinyl tile floor are the meat and potatoes of this document.
Methods such as using a vacuum cleaner, microfiber mop, and soft-bristled broom are involved. You can choose to seal just the gaps between vinyl tiles or the entire floor. Putting down a sealer all over the floor is the best way to ensure everyone's safety. First, sweep or vacuum the floor using soft bristles and a microfiber mop. In the second stage, you'll combine water and vinyl floor stripper in a bucket.
Remove any wax or polish from the tiles before sealing or resealing an older floor. Cleaning vinyl floors requires a vinyl floor remover, some warm water, and a mop. Tape off the lower border of the baseboards and any other fixed surfaces with painter's tape. For best results, apply the sealant with a cloth like a lambswool finishing pad and let it dry as directed. Floor sealing can make the floor more durable, prevent it from water damage, and make it simpler to clean.
Floor sealing can reduce future expenses and make it simpler to remove tiles. Coat a lambswool floor finishing pad with the sealer of your choice and run it back and forth over the tiles to apply vinyl plank seam sealant. Leave the floor to dry overnight, and then sweep it lightly with a microfiber cloth. Repeat the process from step one on day three if necessary, applying a second coat using the same technique.
Content Summary
- Self-adhesive vinyl floor tiles are convenient for DIY installation.
- Sealing the floor prevents dirt and moisture from loosening the tiles.
- Vinyl tiles come in various colors and patterns suitable for any decor style.
- Vinyl tiles are popular for kitchens and bathrooms due to their water resistance.
- Vinyl flooring is affordable, easy to install, and low maintenance.
- Choosing a compatible sealer is crucial for sealing vinyl floor tiles.
- Applying two coats of vinyl floor polish enhances the floor's appearance.
- Proper preparation is essential for effective vinyl floor sealing.
- Different methods can be used to seal vinyl tile floors based on specific needs.
- Sealing can be done during installation or to restore a previously sealed floor.
- Sealing the seams prevents dirt, grime, and water damage.
- Sealing the entire surface maintains the floor's appearance and longevity.
- Sealing individual tiles can address breakage or peeling issues.
- Safety is maximized by applying sealant to the entire floor.
- Thorough cleaning and dust removal are necessary before sealing.
- A vinyl floor stripper is used to remove existing polish or wax.
- Painter's tape is applied to protect baseboards and other objects.
- The vinyl sealer is applied using a lambswool finishing pad.
- Proper application and drying time are crucial for effective sealing.
- Sealing vinyl floors saves money by prolonging their lifespan.
- Sealed floors are more resistant to wear and tear and water damage.
- Sealing makes cleaning vinyl floors easier.
- Sealing can be monotonous and time-consuming.
- Sealing may make it harder to remove tiles in the future.
- Vinyl plank seam sealer is applied with a lambswool floor finishing pad.
- Air bubbles can be prevented by working slowly and deliberately.
- Prompt action is necessary for repairing broken or loose tiles.
- A hairdryer can be used to soften hard vinyl tiles for flexibility.
- Masking tape can protect furniture and walls during sealing.
- Choosing the right sealant that complements the floor's appearance is important.
Frequently Asked Questions
Applying a sealant to your vinyl plank flooring is possible and an important step to enhance durability and protect the flooring. Vinyl plank flooring features seams between the sheets or tiles. These seams trap dirt, debris, and dust, and fusing them with a sealer to prevent this accumulation is advisable.
If your floor is especially dirty, add a few drops of liquid dishwashing soap to the mixture before mopping once with the soap mixture and again with vinegar and water. To add shine to your vinyl floor, add a few drops of baby oil to the vinegar and water solution.
Certain shower sealants or caulks may seem to dry to the touch quickly after application, but they take around 24 hours to cure fully and properly. The curing process can be sped up or slowed down following the humidity level within the shower enclosure and the home.
You only need to slightly dampen a microfiber cloth with water and then buff away the scuff. Mop the floor. Whether you use a commercial cleaner or prefer to make your own, mopping with a microfiber mop is the final step and will have your vinyl floors sparkling.
Vinyl flooring is highly durable. If installed and maintained correctly, it can last 10-20 years. That said, vinyl is a great choice for the rooms in your house that get the most foot traffic. Additionally, most vinyl flooring has a wear layer on its surface that resists scratches and stains.